
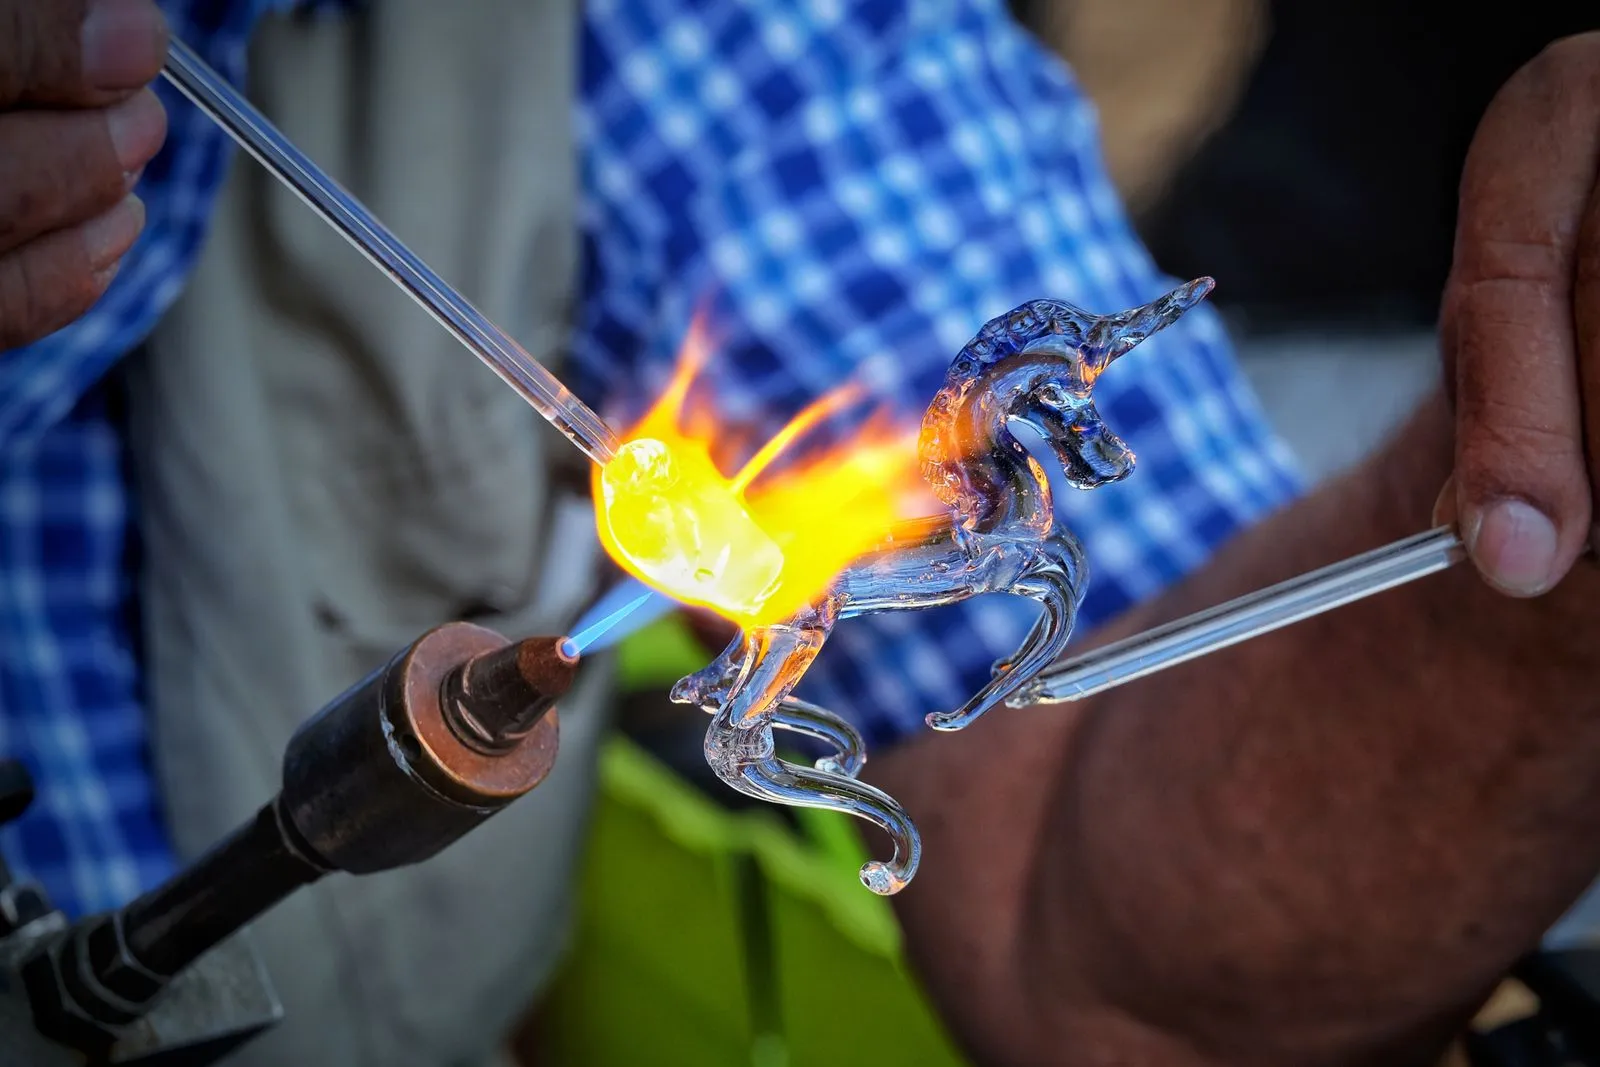
A handmade glass bead begins as a solid rod and takes shape in a controlled flame. The maker heats the glass until it softens, winds it around a metal rod, then builds its form and color while the material remains workable. Each step calls for steady movement and careful heat control. After shaping, the bead needs a gradual cooling period to reduce stress in the glass. Here’s what happens at each stage.
Prepare the Glass and Mandrel
The maker chooses glass rods for the bead’s base and any decorative colors. A metal mandrel, coated with bead release, forms the hole through the finished bead and helps it separate later. Before heating, the maker checks that the work area is organized and that appropriate eye protection and ventilation are in place.
The glass rod and mandrel are warmed gradually near the torch flame. This helps avoid sudden temperature changes that can cause glass to crack. The maker rotates the rod to heat it evenly, bringing the tip toward the flame until it becomes soft enough to form a smooth, glowing gather.
Wind and Shape the Bead
With the glass soft, the maker turns the mandrel steadily while feeding the molten glass around it. The glass winds into a coil, building the bead’s basic body. Even rotation helps distribute the glass around the mandrel and keeps the opening centered.
The maker continues heating and turning the bead to smooth the surface and refine its shape. Tools such as graphite paddles or shaping tools can flatten, round, or texture the glass. The bead must stay warm enough to move, but not so hot that gravity pulls it out of shape.
Add Color and Detail
Decorative glass can be melted onto the base as dots, lines, or bands. The maker applies small amounts, then reheats them so they fuse to the bead rather than sitting loosely on the surface. Layering colors can create depth, while controlled shaping can stretch dots into patterns.
Details may be pressed, dragged, or wrapped into the surface with a tool or another glass rod. Each addition changes the bead’s balance and temperature, so the maker rotates it and returns it to the flame as needed. Some glass colors react with one another, making a test piece useful when planning a new combination.
Cool the Bead Gradually
Once the shape and decoration are complete, the maker heats the bead evenly and then moves it away from the direct flame. It must not cool too quickly: uneven cooling can leave internal stress that may cause cracking later. The bead is placed in a temperature-controlled annealing kiln, where it can cool gradually.
After the bead has completed its cooling cycle, the maker removes it from the mandrel and cleans away the bead release from the hole. A final inspection checks the surface, shape, and opening. This slow finishing stage is essential; the bead may look complete while still needing careful cooling to become more durable.
Torch-made beads take shape through a sequence of heating, winding, decorating, and controlled cooling. Understanding these stages helps you appreciate the skill behind each finished piece and why proper annealing matters. If you’d like to see the process up close, ask Houston Glass Bead Studio about its glass bead-making experiences.